How to Test Google ads Conversion Tracking? [Easy Guide]
So, you set up a conversion tracking action with Google ads.
But, you don’t know whether it is working or not?
Don’t worry, in this guide, we are going to walk you through the most common ways to test Google ads conversion tracking.
We divided this guide into four parts.
Depending on the type of situation you are in, you can follow those instructions to check the performance of your tags.
So, let’s get started…
1. Check your tracking status from your Google ads account
One of the first things to do is go to your Google ads account and check the status of a certain conversion action that you are tracking.

Your status can be:
- Active (That means, the tag is working). But this can be for conversions which have been tracking for some time.

- Recording conversions (Same as Active status. That means tag is working and started sending data)

- No recent conversions with black color or red color (That means, no conversion happened for the past 7 days. So, it needs some data.)


- Unverified or Not verified (That means conversion tracking is not working. So, either your tag is not validated or your page is not having any conversion. You should try to manually perform conversion action yourself or wait for some time for users visit the page)

- Tag inactive (That means, you never sent any conversion data through this tag. That’s probably because the tag installed wrong otherwise it would have sent manual data which you can do just by loading that specific page). But recently i created a conversion action and i got the same status immediately after creating that conversion. Even if i did everything correct. Because i have tested that with GTM preview mode. Now the status changed to No recent conversions automatically

If you see the verified status after this status, there is no problem with that. It is working now.
Now, We are going to talk about the other two situations.
How to fix the Not Verified status?
If you see the Not verified status, it means your conversion action is not working and you need to fix it.
When writing this article, I set up two conversion tracking actions on a demo website to see which one is going to be verified faster.
With one of the conversion action, I manually triggered the tag by going to the page and making one manual conversion.
With the second conversion action, I didn’t touch it.
After about 20 minutes, the first conversion action’s status turned into No recent conversions, which means, it should turn into Verified status once it starts getting more conversions.

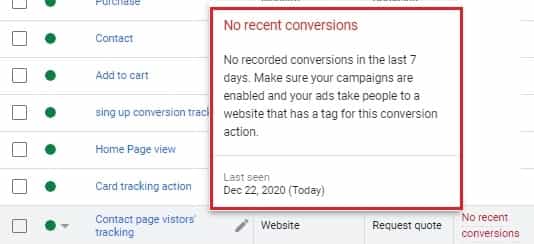
With the second conversion action, I waited several hours with Unverified status before manually triggering the tag.
According to Google support, it may take up to 24 hours for your conversions to be seen on the conversions column.
So, to verify the recent conversion status faster, you can manually trigger the tag.
If you have done all of the steps above, you can also do the following to fix your problems or to test the tag’s performance.
2. Check the Hardcoded version of tags
Your tags are not hardcoded? Then, skip these steps.
If you have hardcoded the tracking code yourself or your developer did it, then the tags need to be checked on every page of your website.
In order to do that, open the page that you added the tracking codes and check the Source code (by right-clicking the mouse and going to “view page source” or pressing CTRL+U)
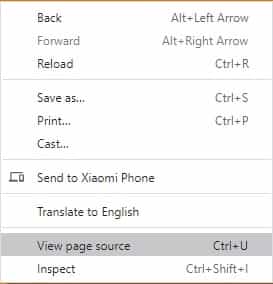
Search for Google ads’ Global site tag or Event snippet tag from the head section of your page (Press CTRL+F).
Check, whether it has been added correctly or not.
Some of the tags are only used for specific pages.
So, you should know which of the tags are tracking which call to action on certain pages.
However, this is approach is good when you have a few pages to check.
For a lot of pages and tags, you can consider using the next option.
3. How to Test Google ads Conversion Tracking by Using Chrome extensions
One of the fastest ways to check the Google ads conversion tracking working or not is using Google Chrome extensions.
There a lot of chrome extensions available for that purpose.
- Tag Assistant (by Google)
- Tag manager injector
- WASP
- Da Vinci Tools
Set up the Tag assistant
From those extensions, we are going to use Tag assistant which is one of the most used ones.
- First, install that extension and pin it on the top right corner of your browser to click it when you need it.
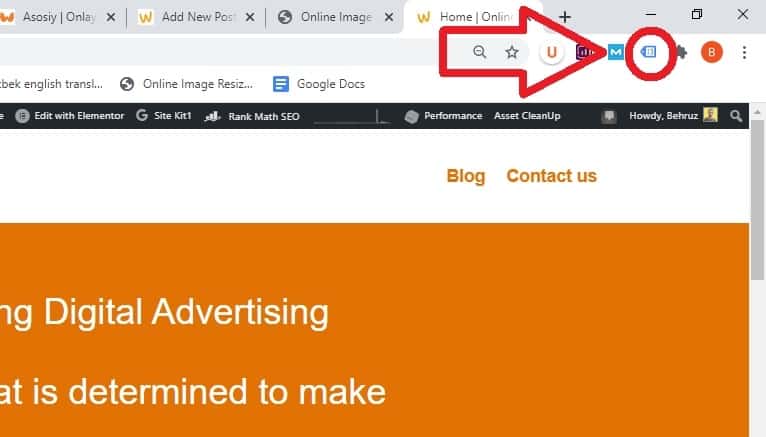
- Now, go to the page where you want to check the tags
- Click the extension and press the Enable option
- Then, reload that page again
- It should show all the available tags that you are using for that particular page
- You can see the number of your tags inside the Tag assistant icon

- If you click the extension, it may bring up your tags in a different color

Types of colors inside the Tag assistant extension
Red color, if you see any tags with red color, it means that tags have some serious issues and it needs to be fixed. By clicking on top of that tag you can have some idea of what to do.
The yellow color means, it has some minor issues. That may or may not be a serious problem for you.
The blue color gives some suggestions on what to do. Most of the time, it is better to pay attention to it. By clicking that tag, you can know what changes can be implemented.
The green color means, the tag is working and it doesn’t have any problems.
If you have any problems when using the Tag assistant tool you can check out this article.
4. Use Google Tag Manager Preview mode
You may already have heard about the Google Tag Manager (GMT) tool and how it can make your conversion tracking so easy.
In this step, we need to use the Google tag manager tool.
We are going to assume that, all your tags are controlled through the Google tag manager tool.
How to test your tags with the Preview mode
- Log in to the Tag manager
- Go to the container that you registered your website
- Now, click the Preview button on the top right corner of the GMT interface

- It opens up another tab. Then, enter your web page URL you want to test and click the Start button

- After that, two tabs will be opened: Tag assistant [Connected] and Your web page

- If you click any button or make any conversion action manually, it is going to be seen through the Tag assistant tab
- In the Tag assistant tab, you can see the Tags, Variables, Data layer, and Errors.
- The Tags sections show all the fired and not fired Tags.

- On the left side of the screen, you can see the Summary of all the actions that are taking place.
 As you can see from the picture, the Google ads conversion tracking tag is not fired on this page (Because it is used for another page). But, the tag is working.
So, that is how you are going to test your conversion actions with the GTM tool.
Bonus tip for troubleshooting conversions
After you have created conversion actions, you may see a troubleshooting sign for some of them inside Google ads platform. That means they aren’t working properly.

Let’s try that option step by step:
Click on troubleshooting:

then Continue:

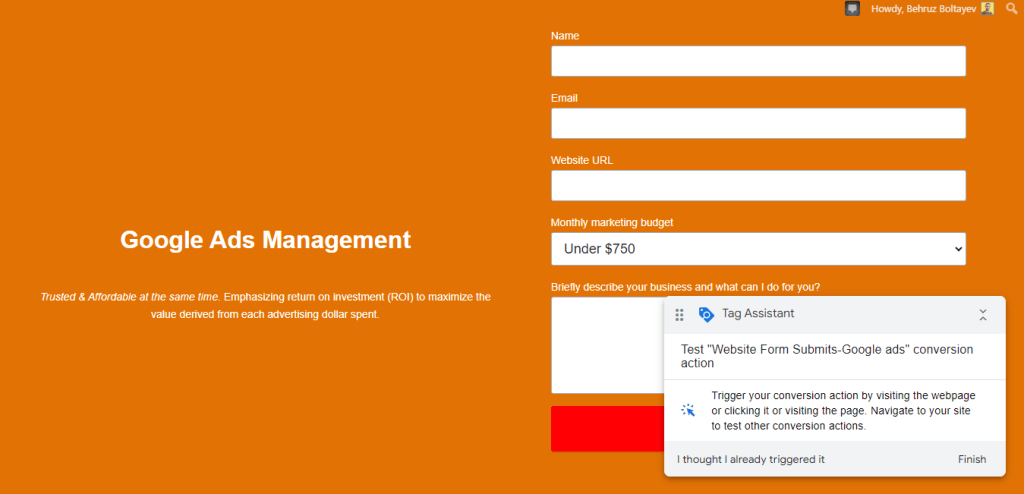
After including the website URL, connect it to tag assistant:
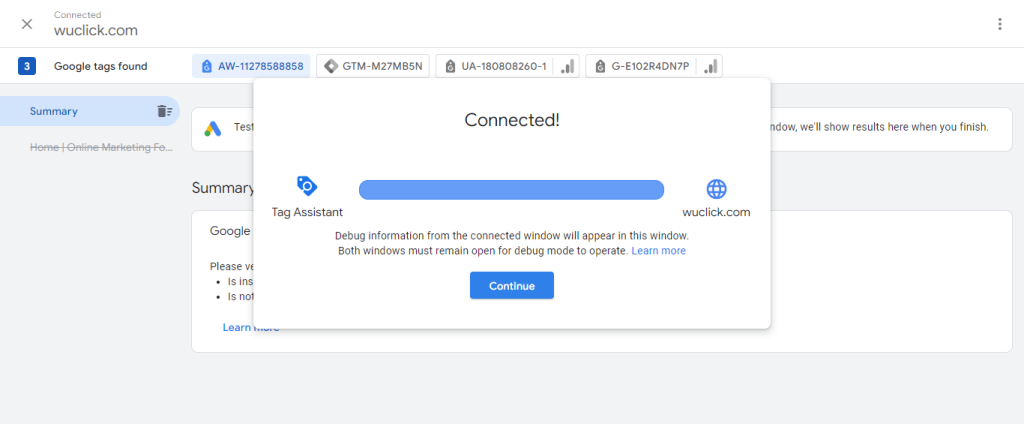
Click continue and your website is opened on another tab as well:
Now, perform your conversion action manually:
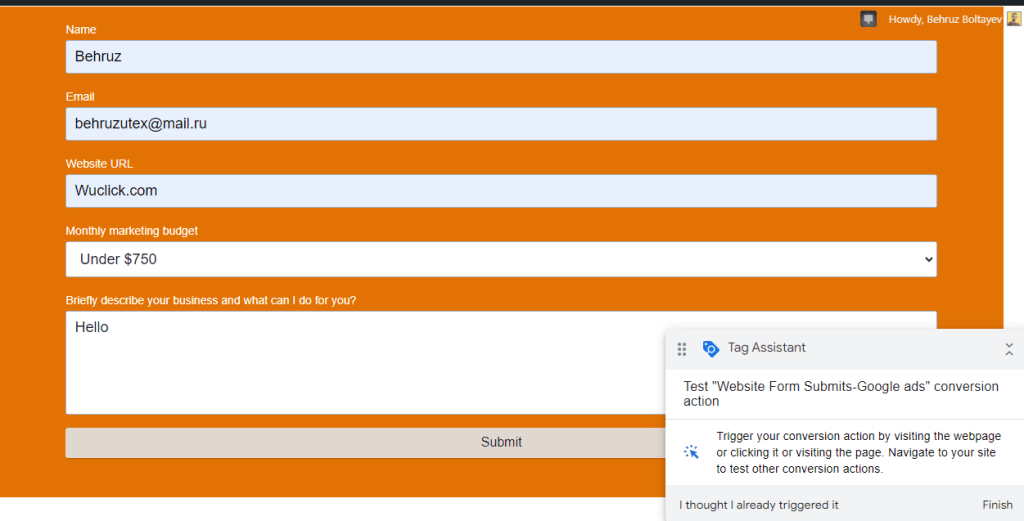
If you have done everything correct, the status of conversion action should change in Google ads platform.
You can also use one of those options to troubleshoot your conversion actions with one of these ways and follow the same steps:

I think that would accelerate the process of verifying your conversion actions.
Conclusion
Hope that’s helped.
Whichever method you use, those are the steps that are mostly used.
Some require some time to work, but it can show the number of conversions through which platform you are getting them (e.g. Google ads).
Others can test instantly but they can’t give you too much information (e.g. Tag assistant extension).
Do you know any other method of testing the conversion tracking?
Let me know in the comments section below…
For any help in your Google ads management, you can contact me through the Contact us page.


